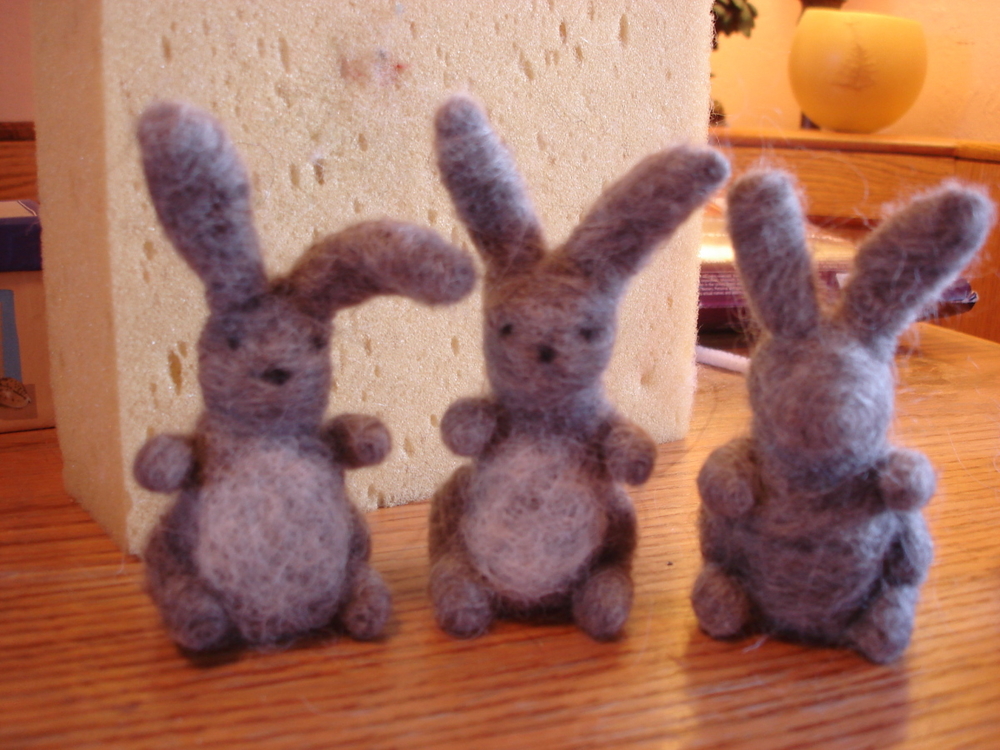
Needle felted bunny
Terri Reinhart
This little bunny is fun to make. If you haven't done any needle felting before, this would make a nice first project. To get started, you will need:
Felting needles - have more than one on hand in case one breaks
Soft sponge as a base for your felting
Wool fleece in grey, brown, or white, with a tiny bit of black and white wool for details
Pipe cleaner
*****
Directions:
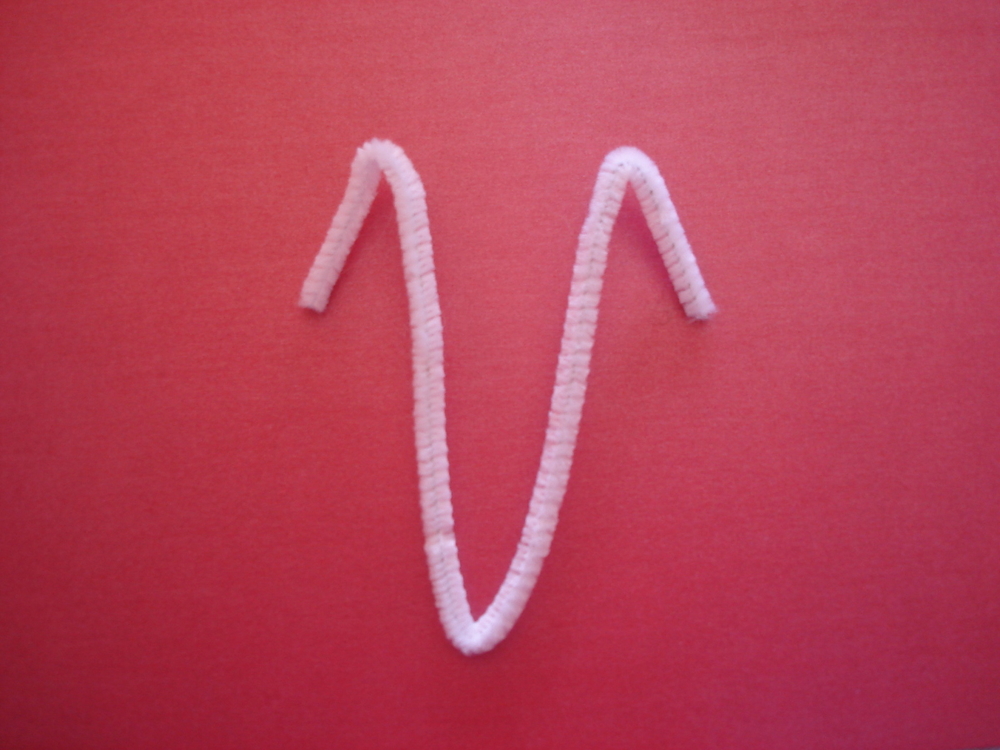
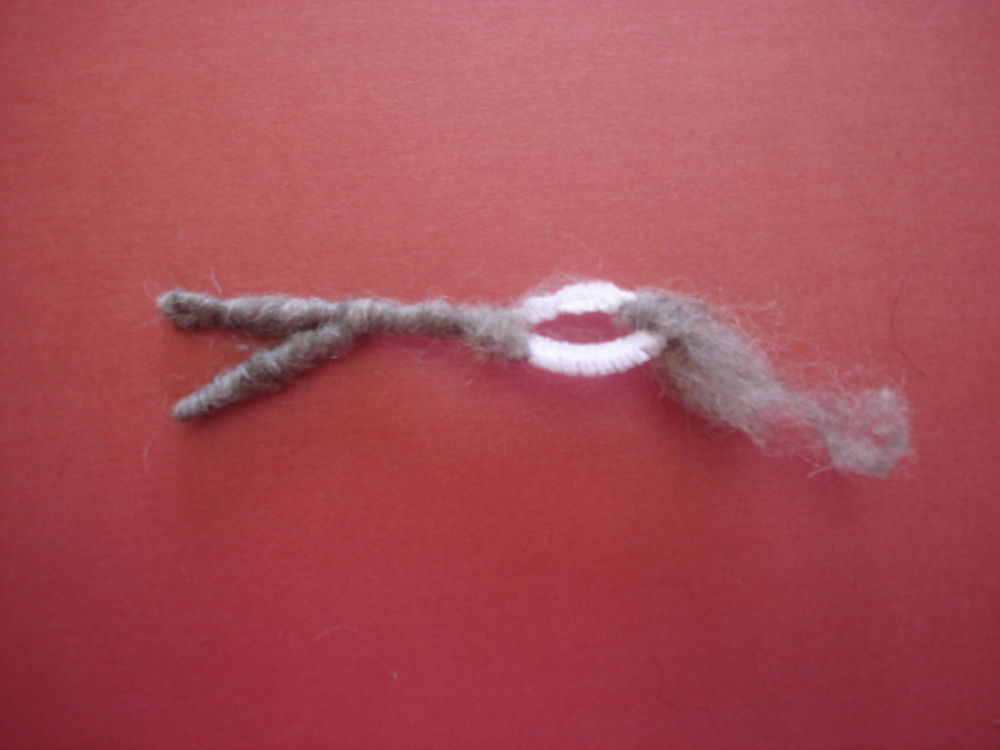
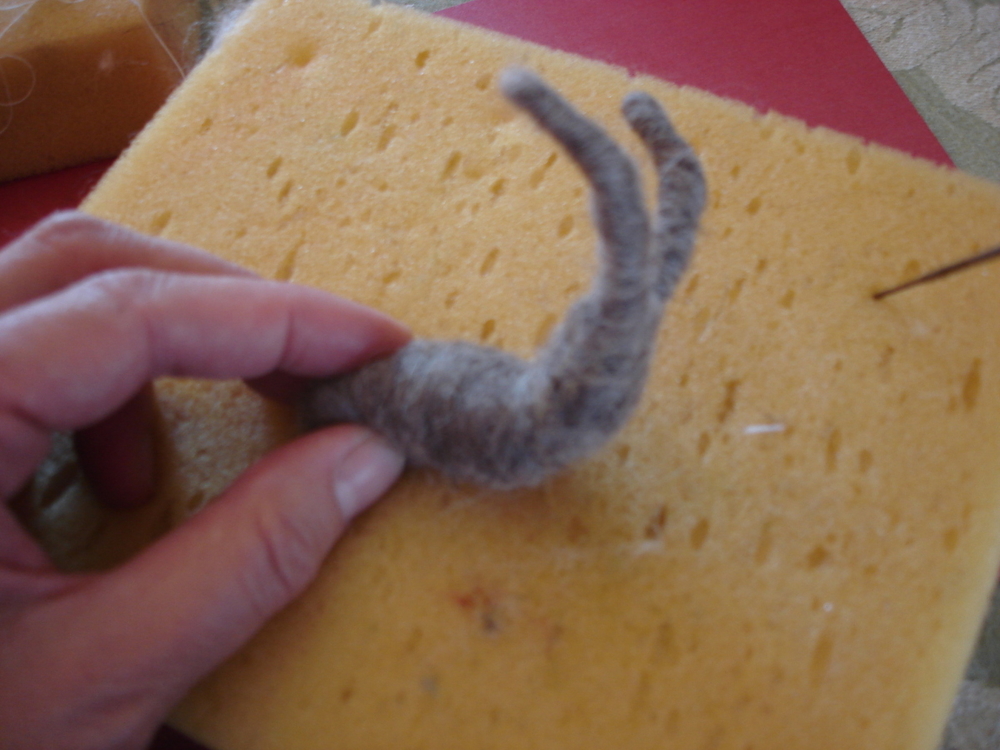
Bend your pipe cleaner like this:
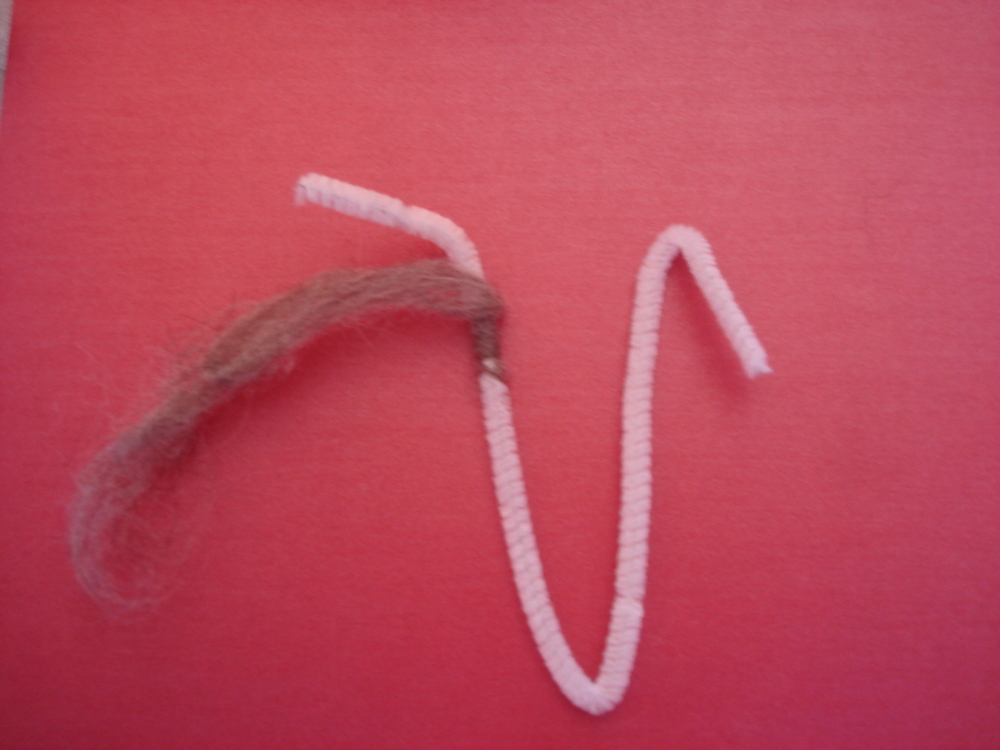
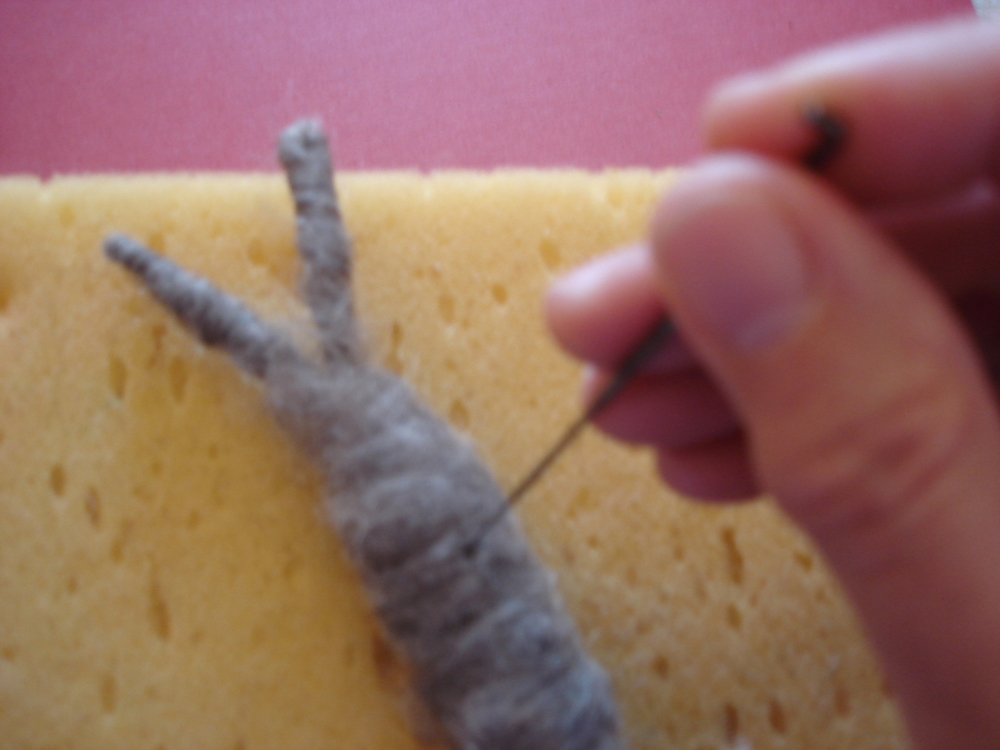
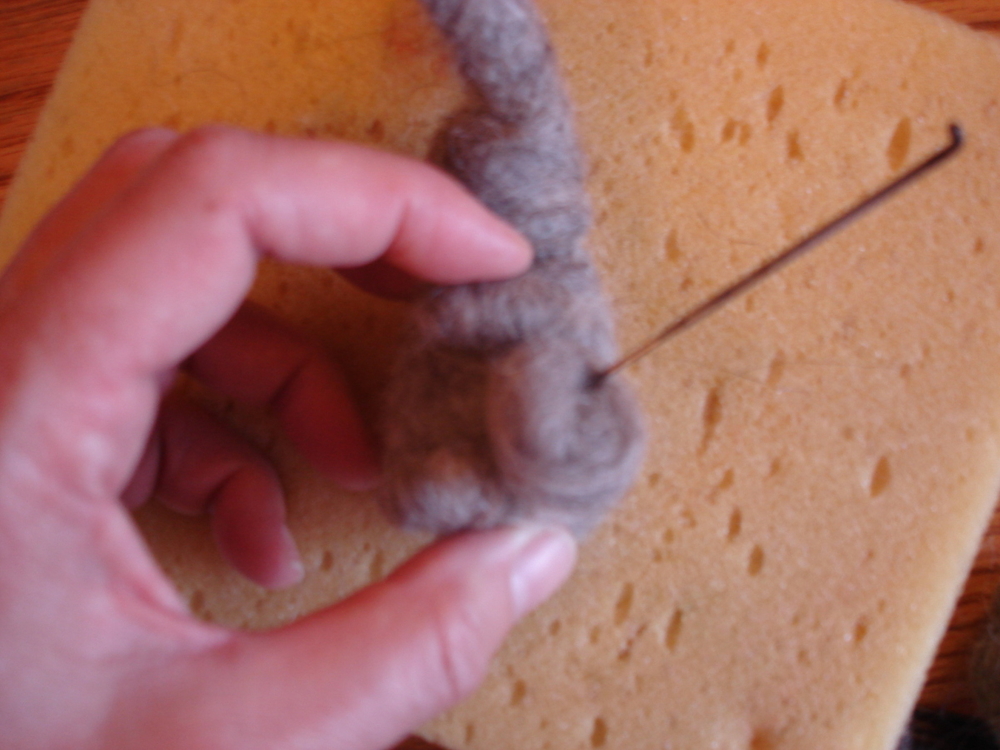
Begin to wrap the wool tightly around the ear as shown:
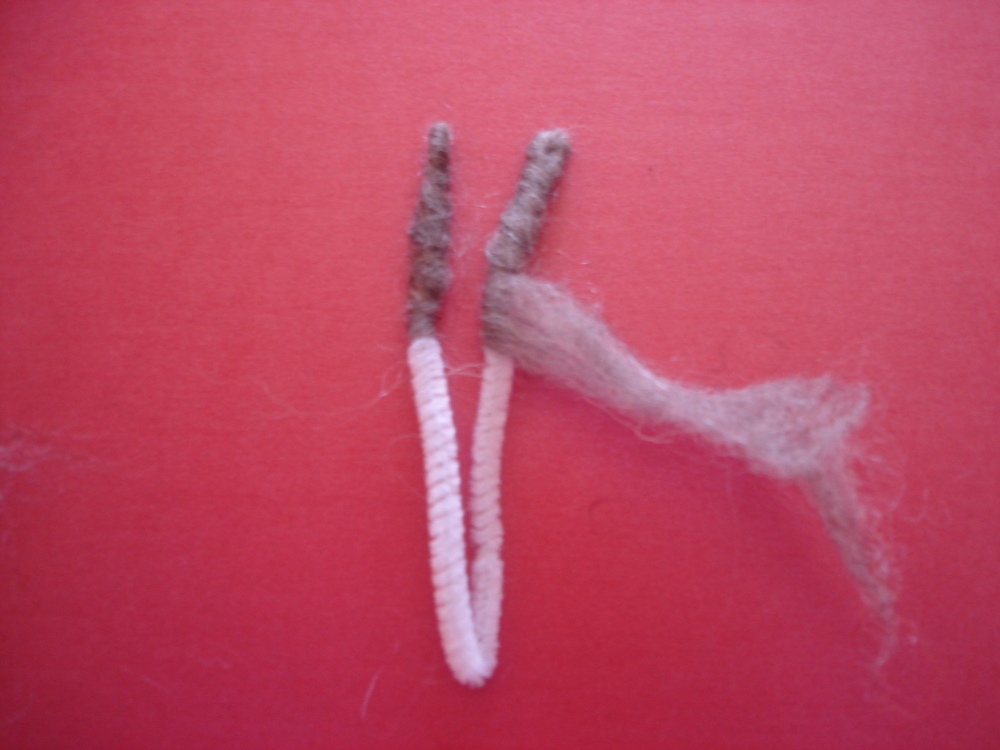
Wrap the wool tightly around the pipe cleaner until you cover the top curve of the ear. Then bend the pipe cleaner down and continue to wrap both sides together. Do this with both ears. It will look like this:
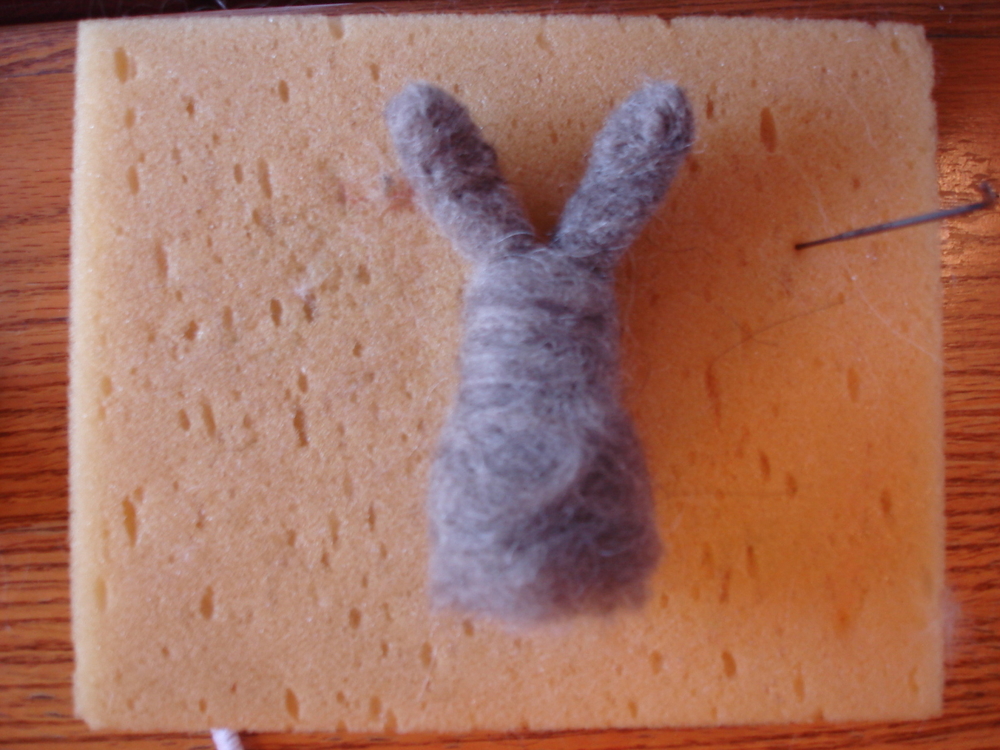
Now you can begin to use the felting needle to secure the wool. Continue wrapping the wool around the body, wrapping around the bottom curve as you did for the top of the ears. Use thin bits of wool and wrap tightly. Secure each layer with the felting needle. The more felting you do with the needle, the tighter and sturdier the rabbit will be. Wrap both the body and the ears, felting each layer, until it is the size you want.
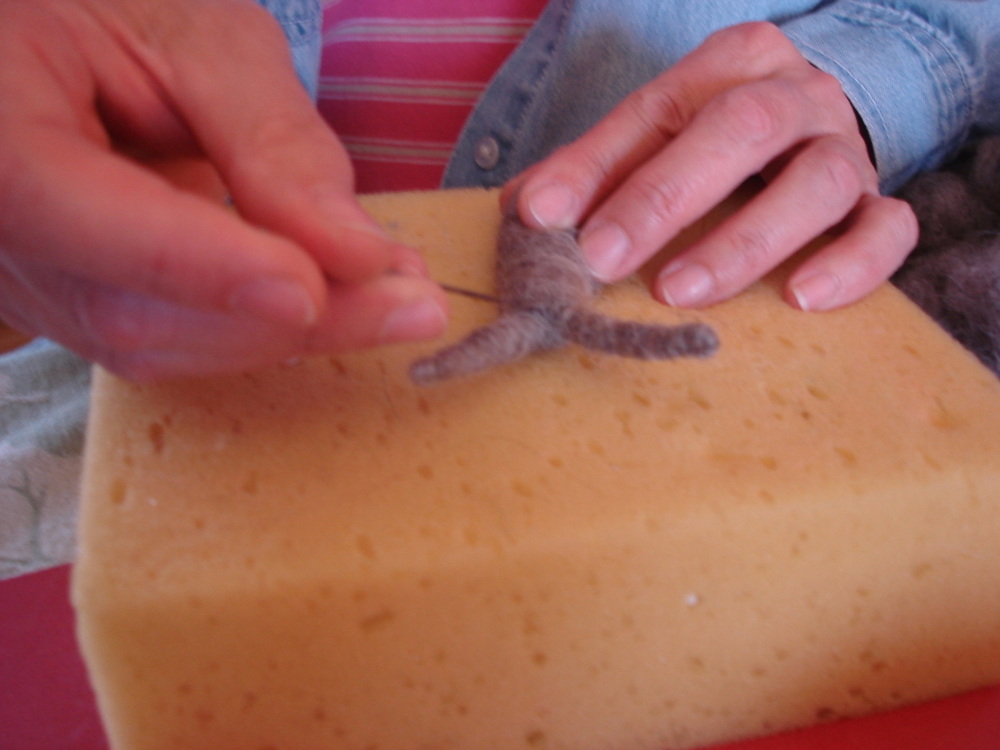
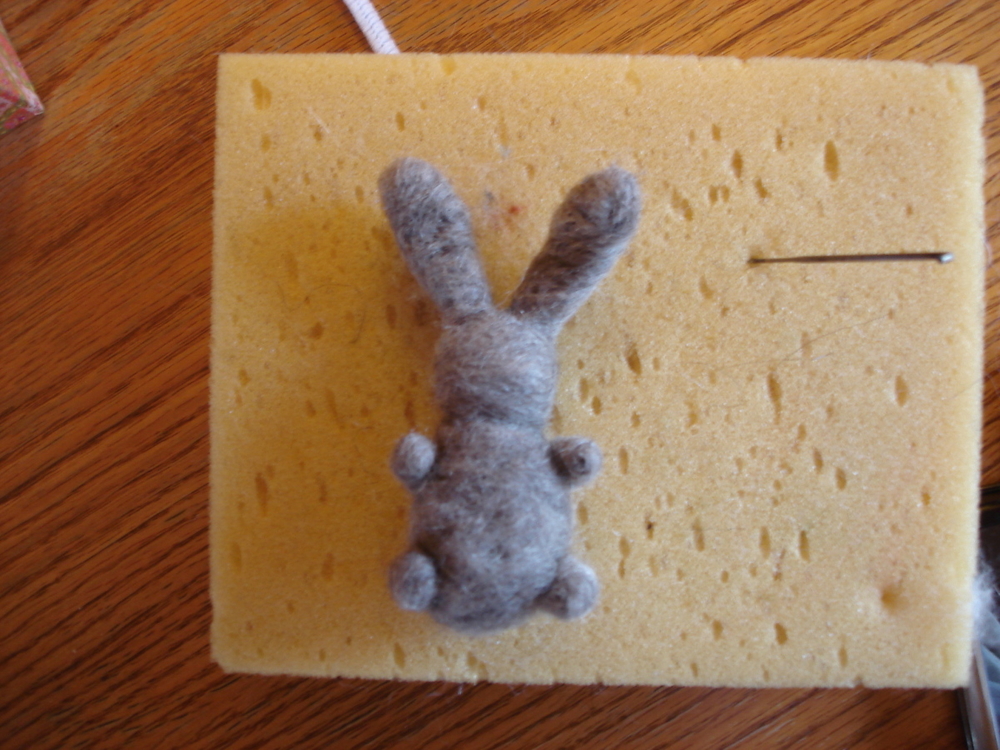
Pay attention to felting in between the ears and felting the bottom so the bunny can stand up.

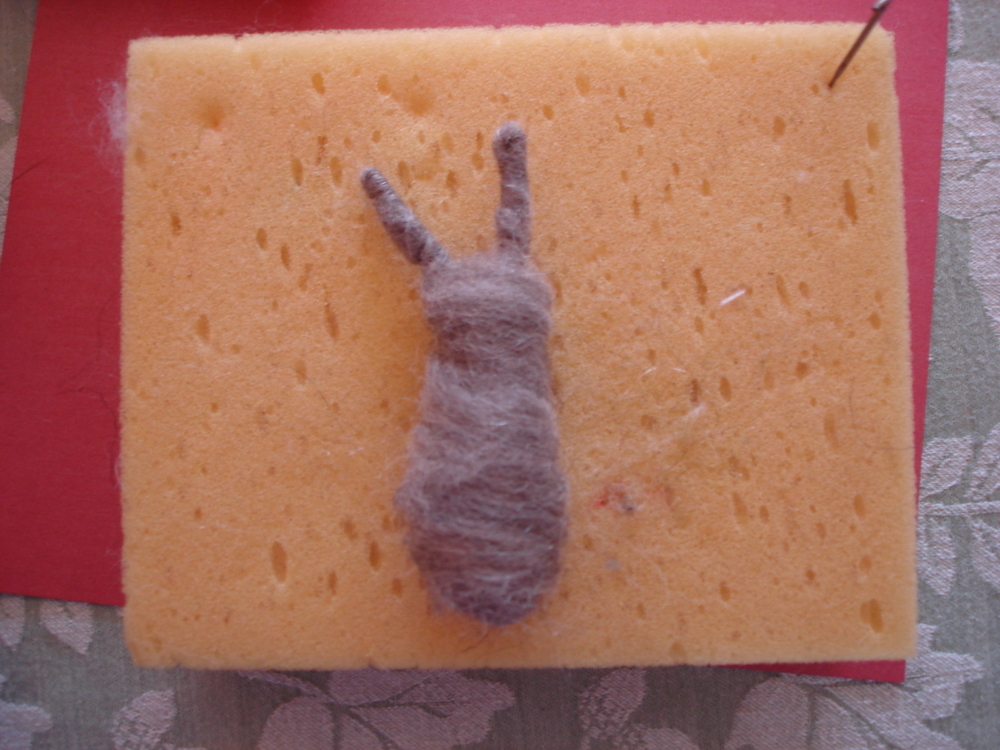
At this point, your bunny may look more like an insect. This is normal. If you have a six year old son, you might decide to stop here and let it be a bug. Otherwise, continue...
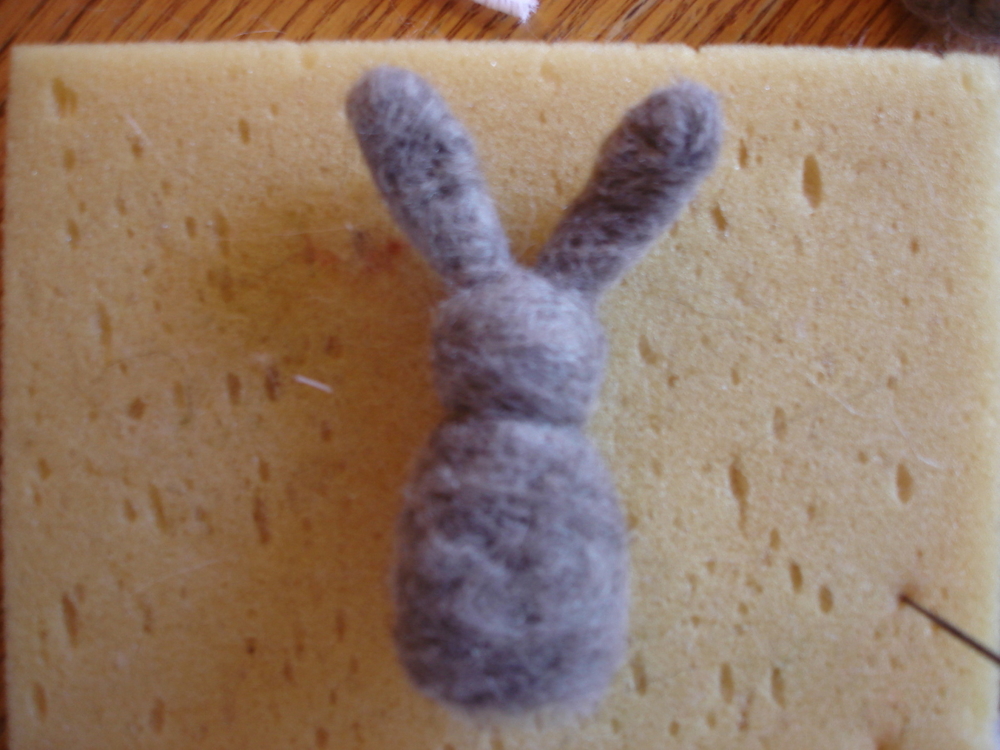
After your bunny is fat enough for you, begin shaping the head, neck and belly with the felting needle. Remember, the more you felt in one place with the needle, the more shaping you will get, such as shown around the neck above.
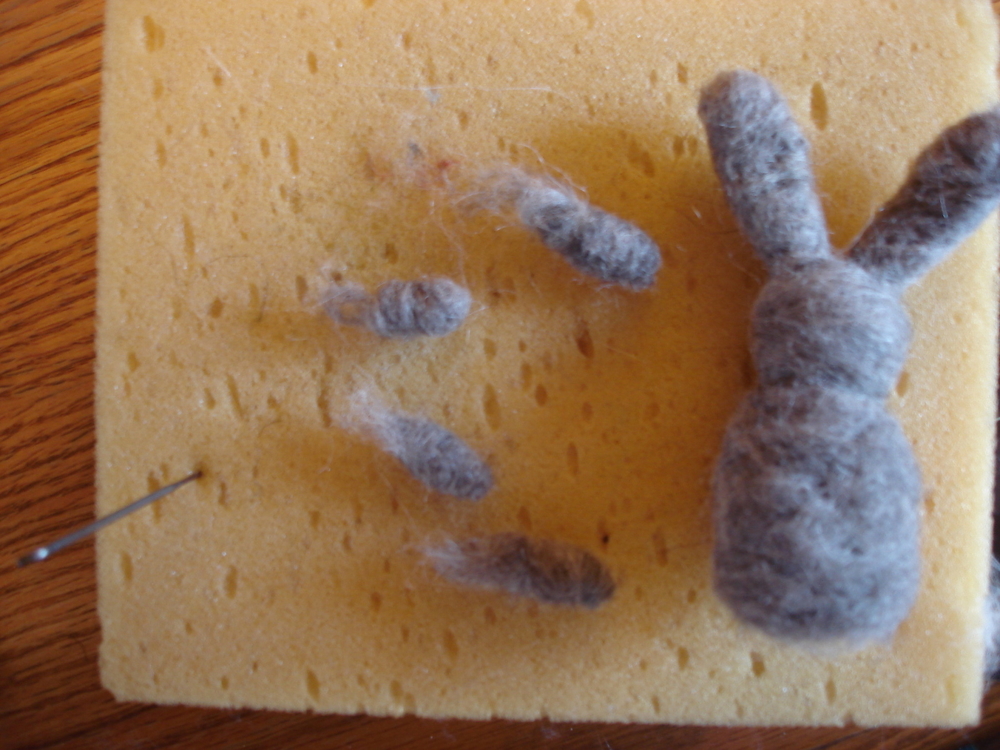
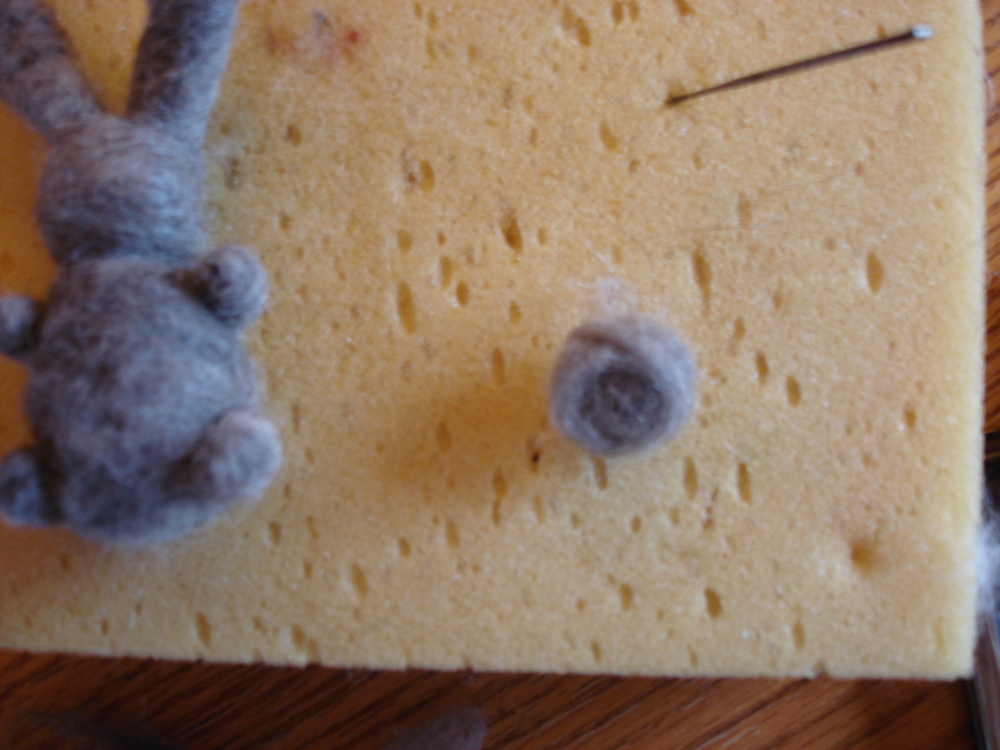
Roll up four small tube shapes out of the wool for feet. It is nice to have just a little extra wool at the end to hold onto. This prevents (or helps to prevent) sticking yourself with the needle. You don't want to do that. The needles are sharp and also fragile. It also doesn't really help the design any to have blood on it. Needlefelt each foot before attaching them to the body of the bunny.
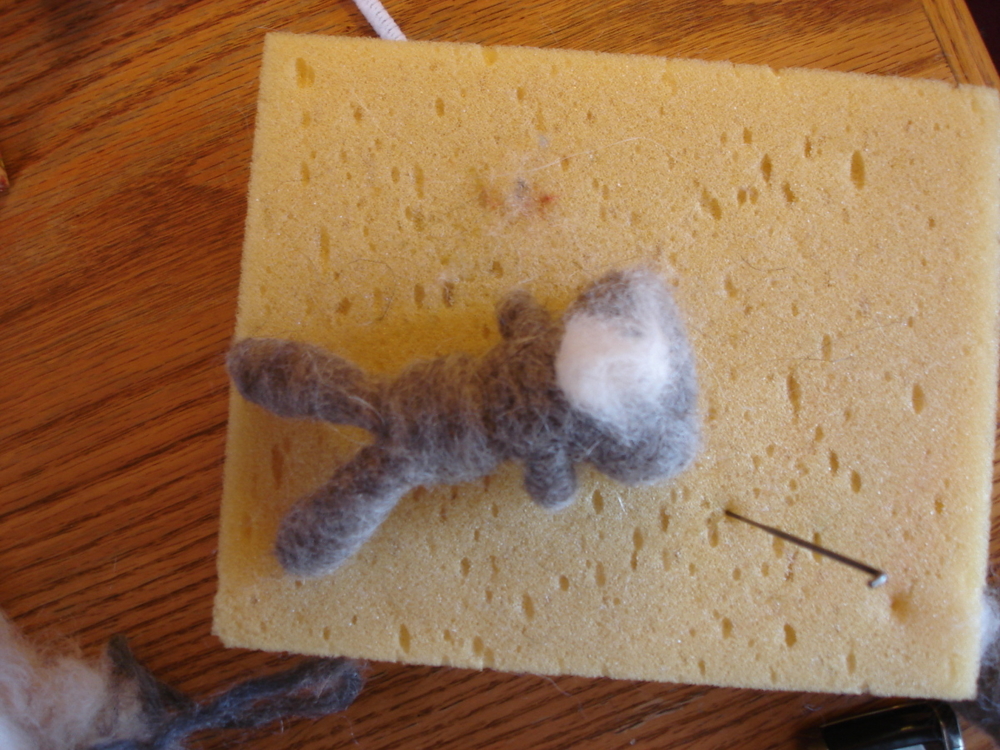
Here is our bunny with shaping done and the feet in place. Secure the feet well with the felting needle, adding some thin bits of wool around where they are attached. This helps so you don't see the connection as much and it will be more secure.
I like adding the upper part of the back legs to the rabbit. This is optional, but I like it better. Roll a small bit of wool into a flat circle. Attach in proper place by back feet as shown:
Attach a bit of a white tail...
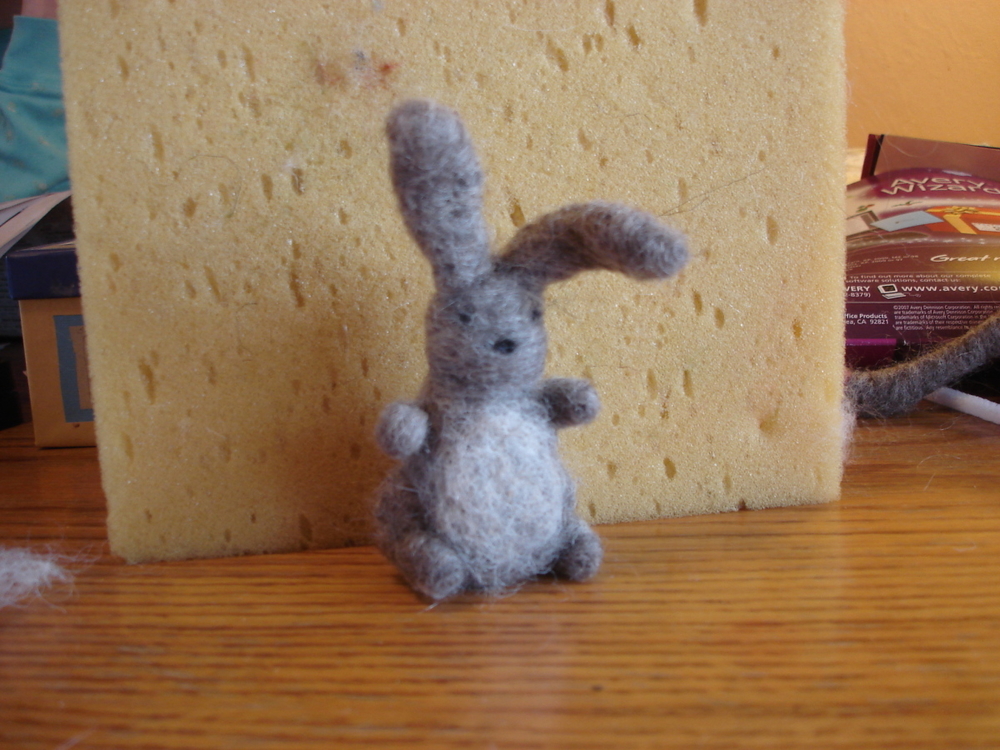
Add black nose and eyes and a little white on the tummy. If you are ambitious and are not giving this to a toddler, you can use tiny black beads for eyes. You may also stitch whiskers on it. I haven't done that yet, but I plan to on my next bunny!